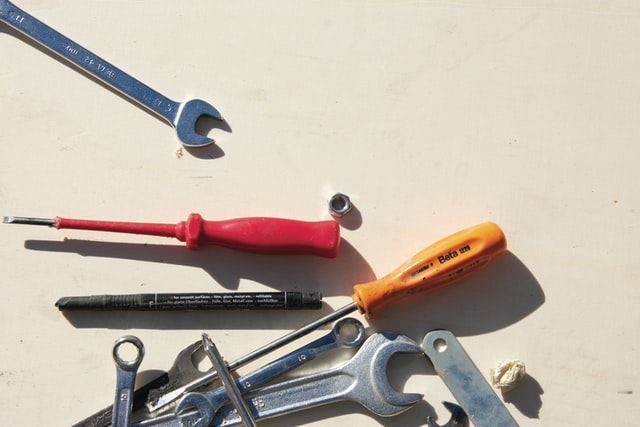
If you are a craftsperson, you know how important it is to have a good toolbox. However, with the hundreds of little parts that go into a toolbox, it can be difficult to effectively organize it.
Not to worry! Whether you have a compact handheld toolbox or a hefty all-in-one rolling toolbox set on heavy duty swivel caster wheels, this guide will help you organize it.
Step One: Clean It Out
The first step to organizing your toolbox is to take everything out of it and wipe it down. This step serves two purposes: first, it allows you to clean out any dust or gunk that might damage your tools; second, it helps you see everything you have.
Step Two: Sort Your Tools
Second, divide your tools by type, size, and shape. Use jars or bowls to hold the tiny bits and pieces, such as nails, screws, and bolts. Lay larger tools out on a flat, clean surface covered by a towel.
Step Three: Review and Remove
Next, take stock of what you have. Do you have doubles of any tools? Triples, even? If you have copies or anything that you do not need, take them out of your collection and set them aside for donation. It is better to declutter your toolbox and give your tools a new life than to let them collect dust.
Additionally, if you have any broken tools, do not throw them into the garbage. Many tools can be sold for scrap metal, and some power tools can be sent back to the manufacturer for cannibalization, repurposing, and recycling.
Step Four: Put Everything Back
It is now time to load up your toolbox. Each drawer should have only one type of tool or accessory in it. Small compartments should be reserved for small parts, which should never be mixed to avoid disorganization and confusion. If necessary, place carved foam inserts to cushion your tools.
Step Five: Label, Label, Label!
Finally, label everything. Everything from the smallest washer to your largest hammer should have a label. You can simply use slips of paper and clear, waterproof tape to mark your drawers. Taking the time to do this will save you a lot of hassle in the future, especially when it comes to differentiating tools by the millimeter.
Congratulations! You have created an organized toolbox that will allow you to access your tools quickly and efficiently. With your revamped toolbox, you will likely notice fewer frustration-induced headaches a boost in your work performance. Go forth and build!


